What do you need to know before you adopt a hamster? Step in for all the basics!
Discover best practices on hamster husbandry based on researched articles
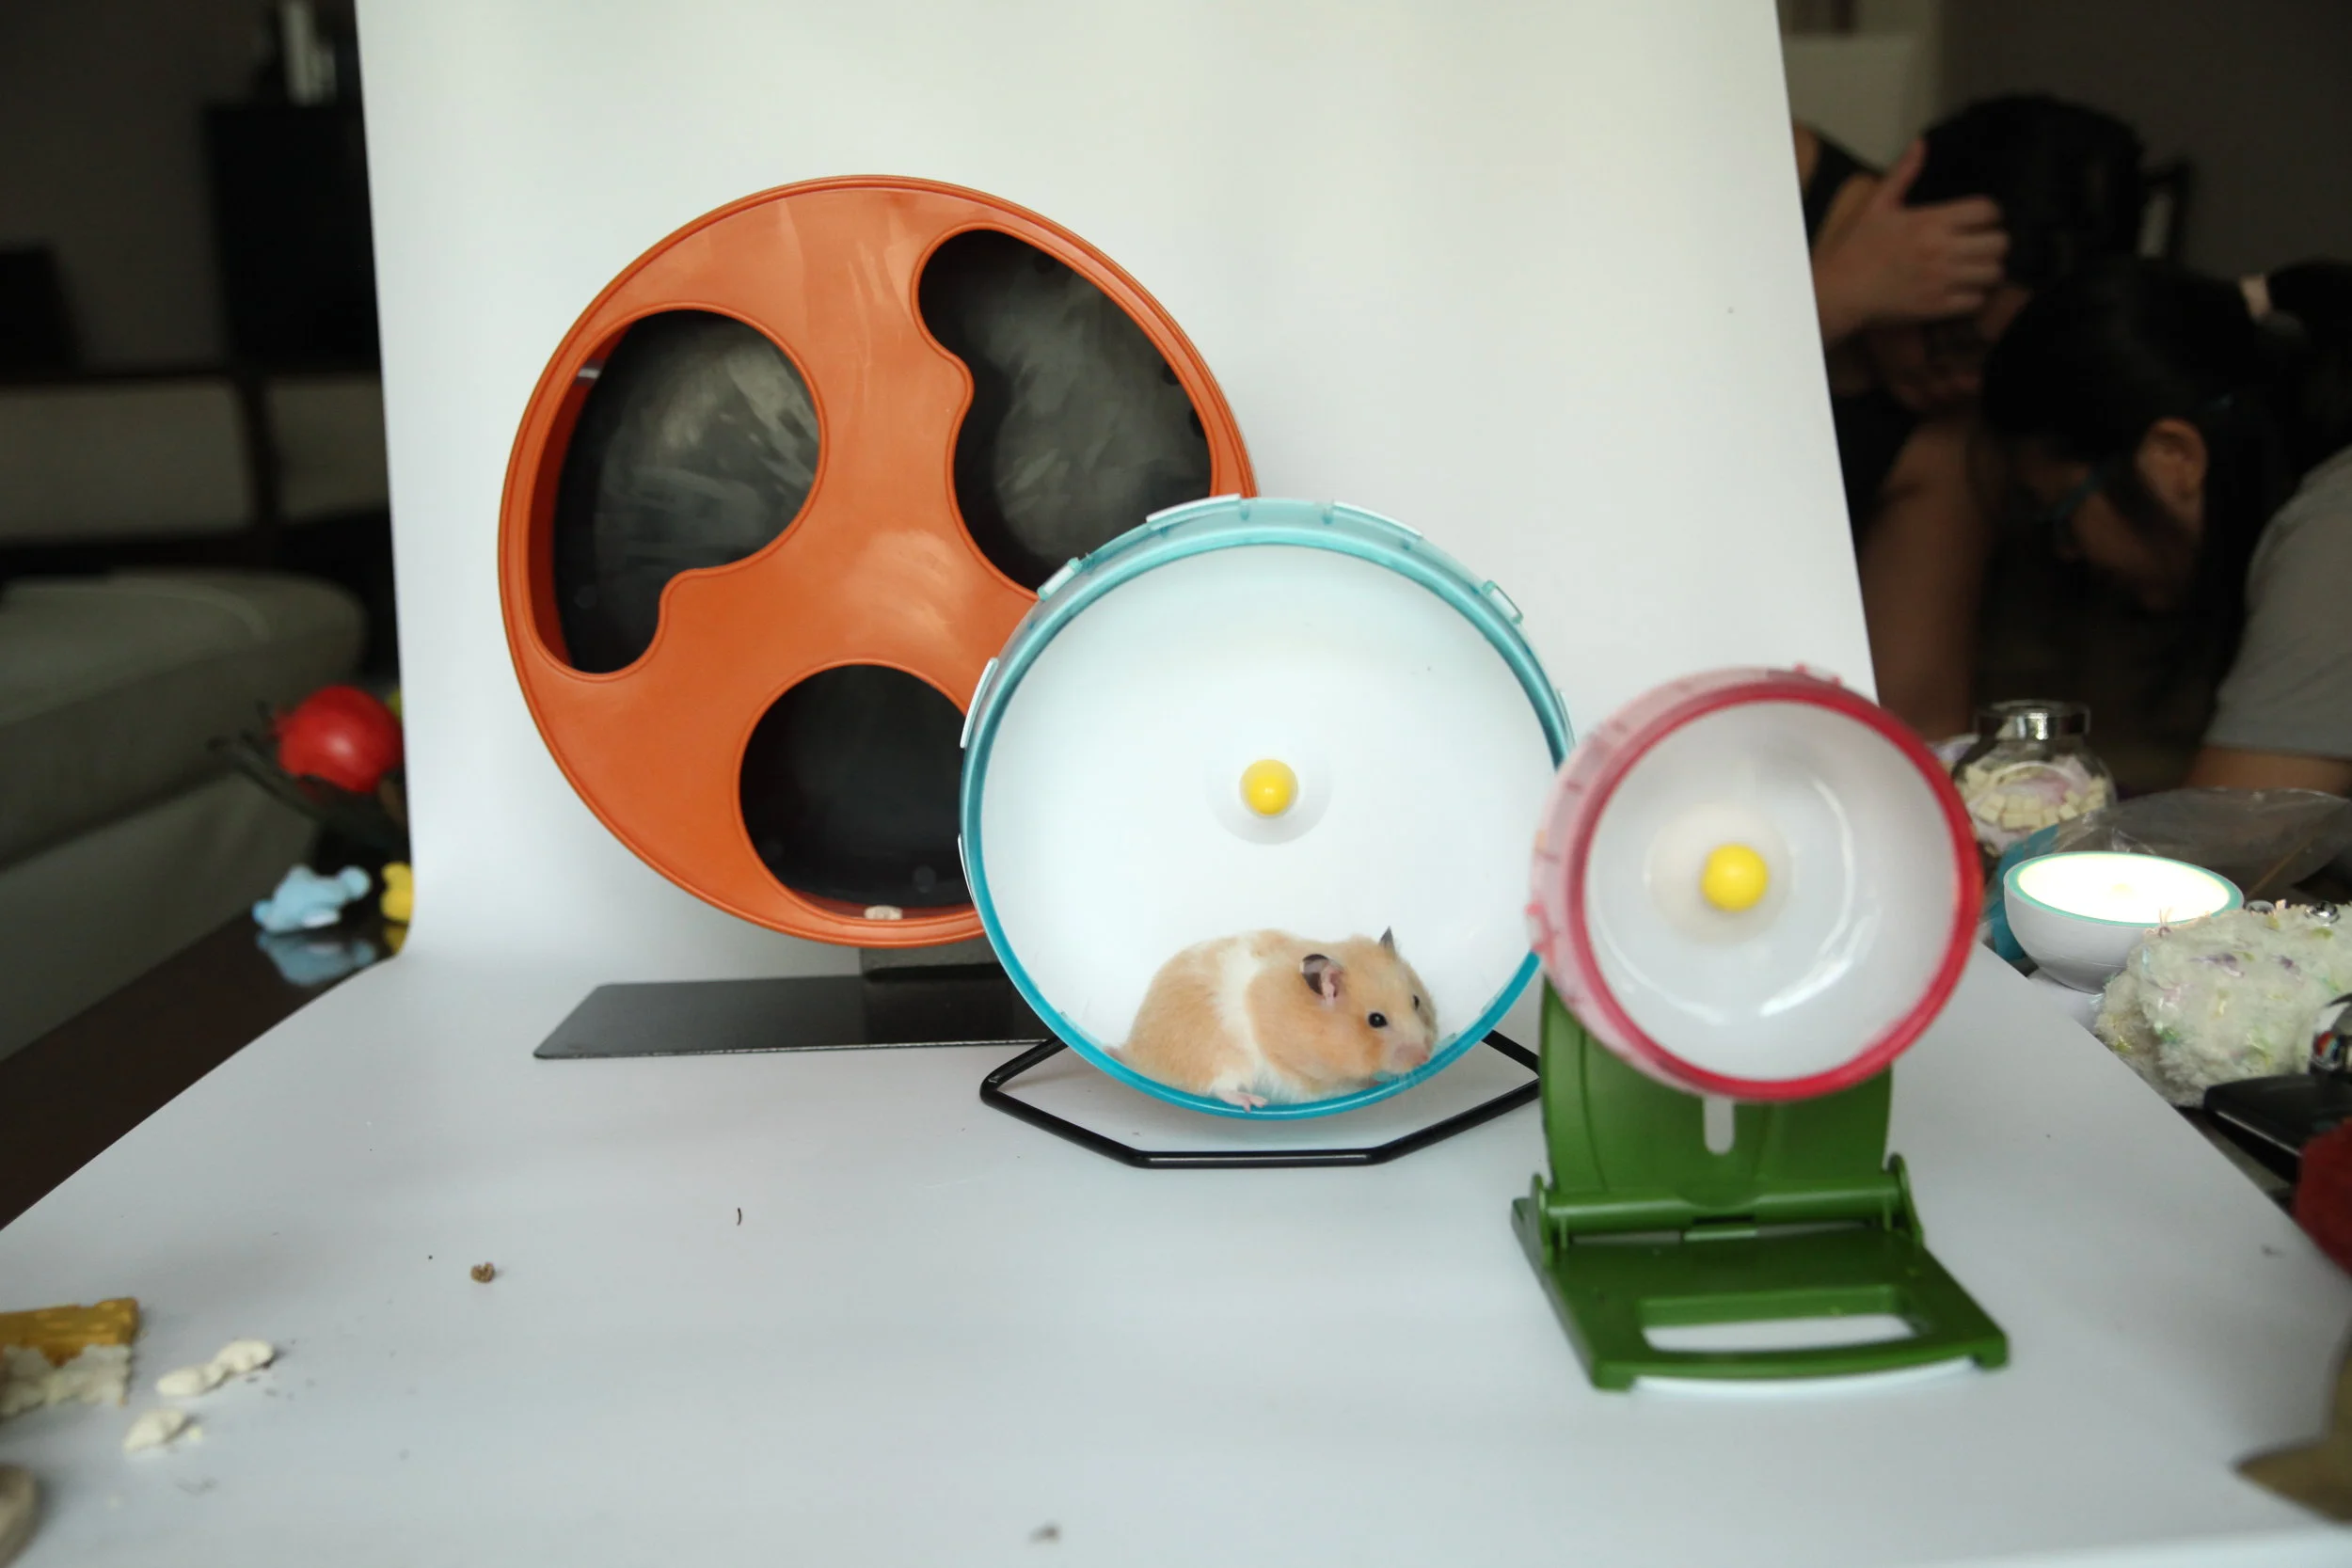
It is essential that each hamster is able to access a running wheel at all times. A hamster on average runs up to 8 kilometres a night. Covering such distances with a bent back is uncomfortable and may lead to long term back damage. Your hamster will also find difficulties gaining momentum when running on the wheel when it is not of an appropriate size.
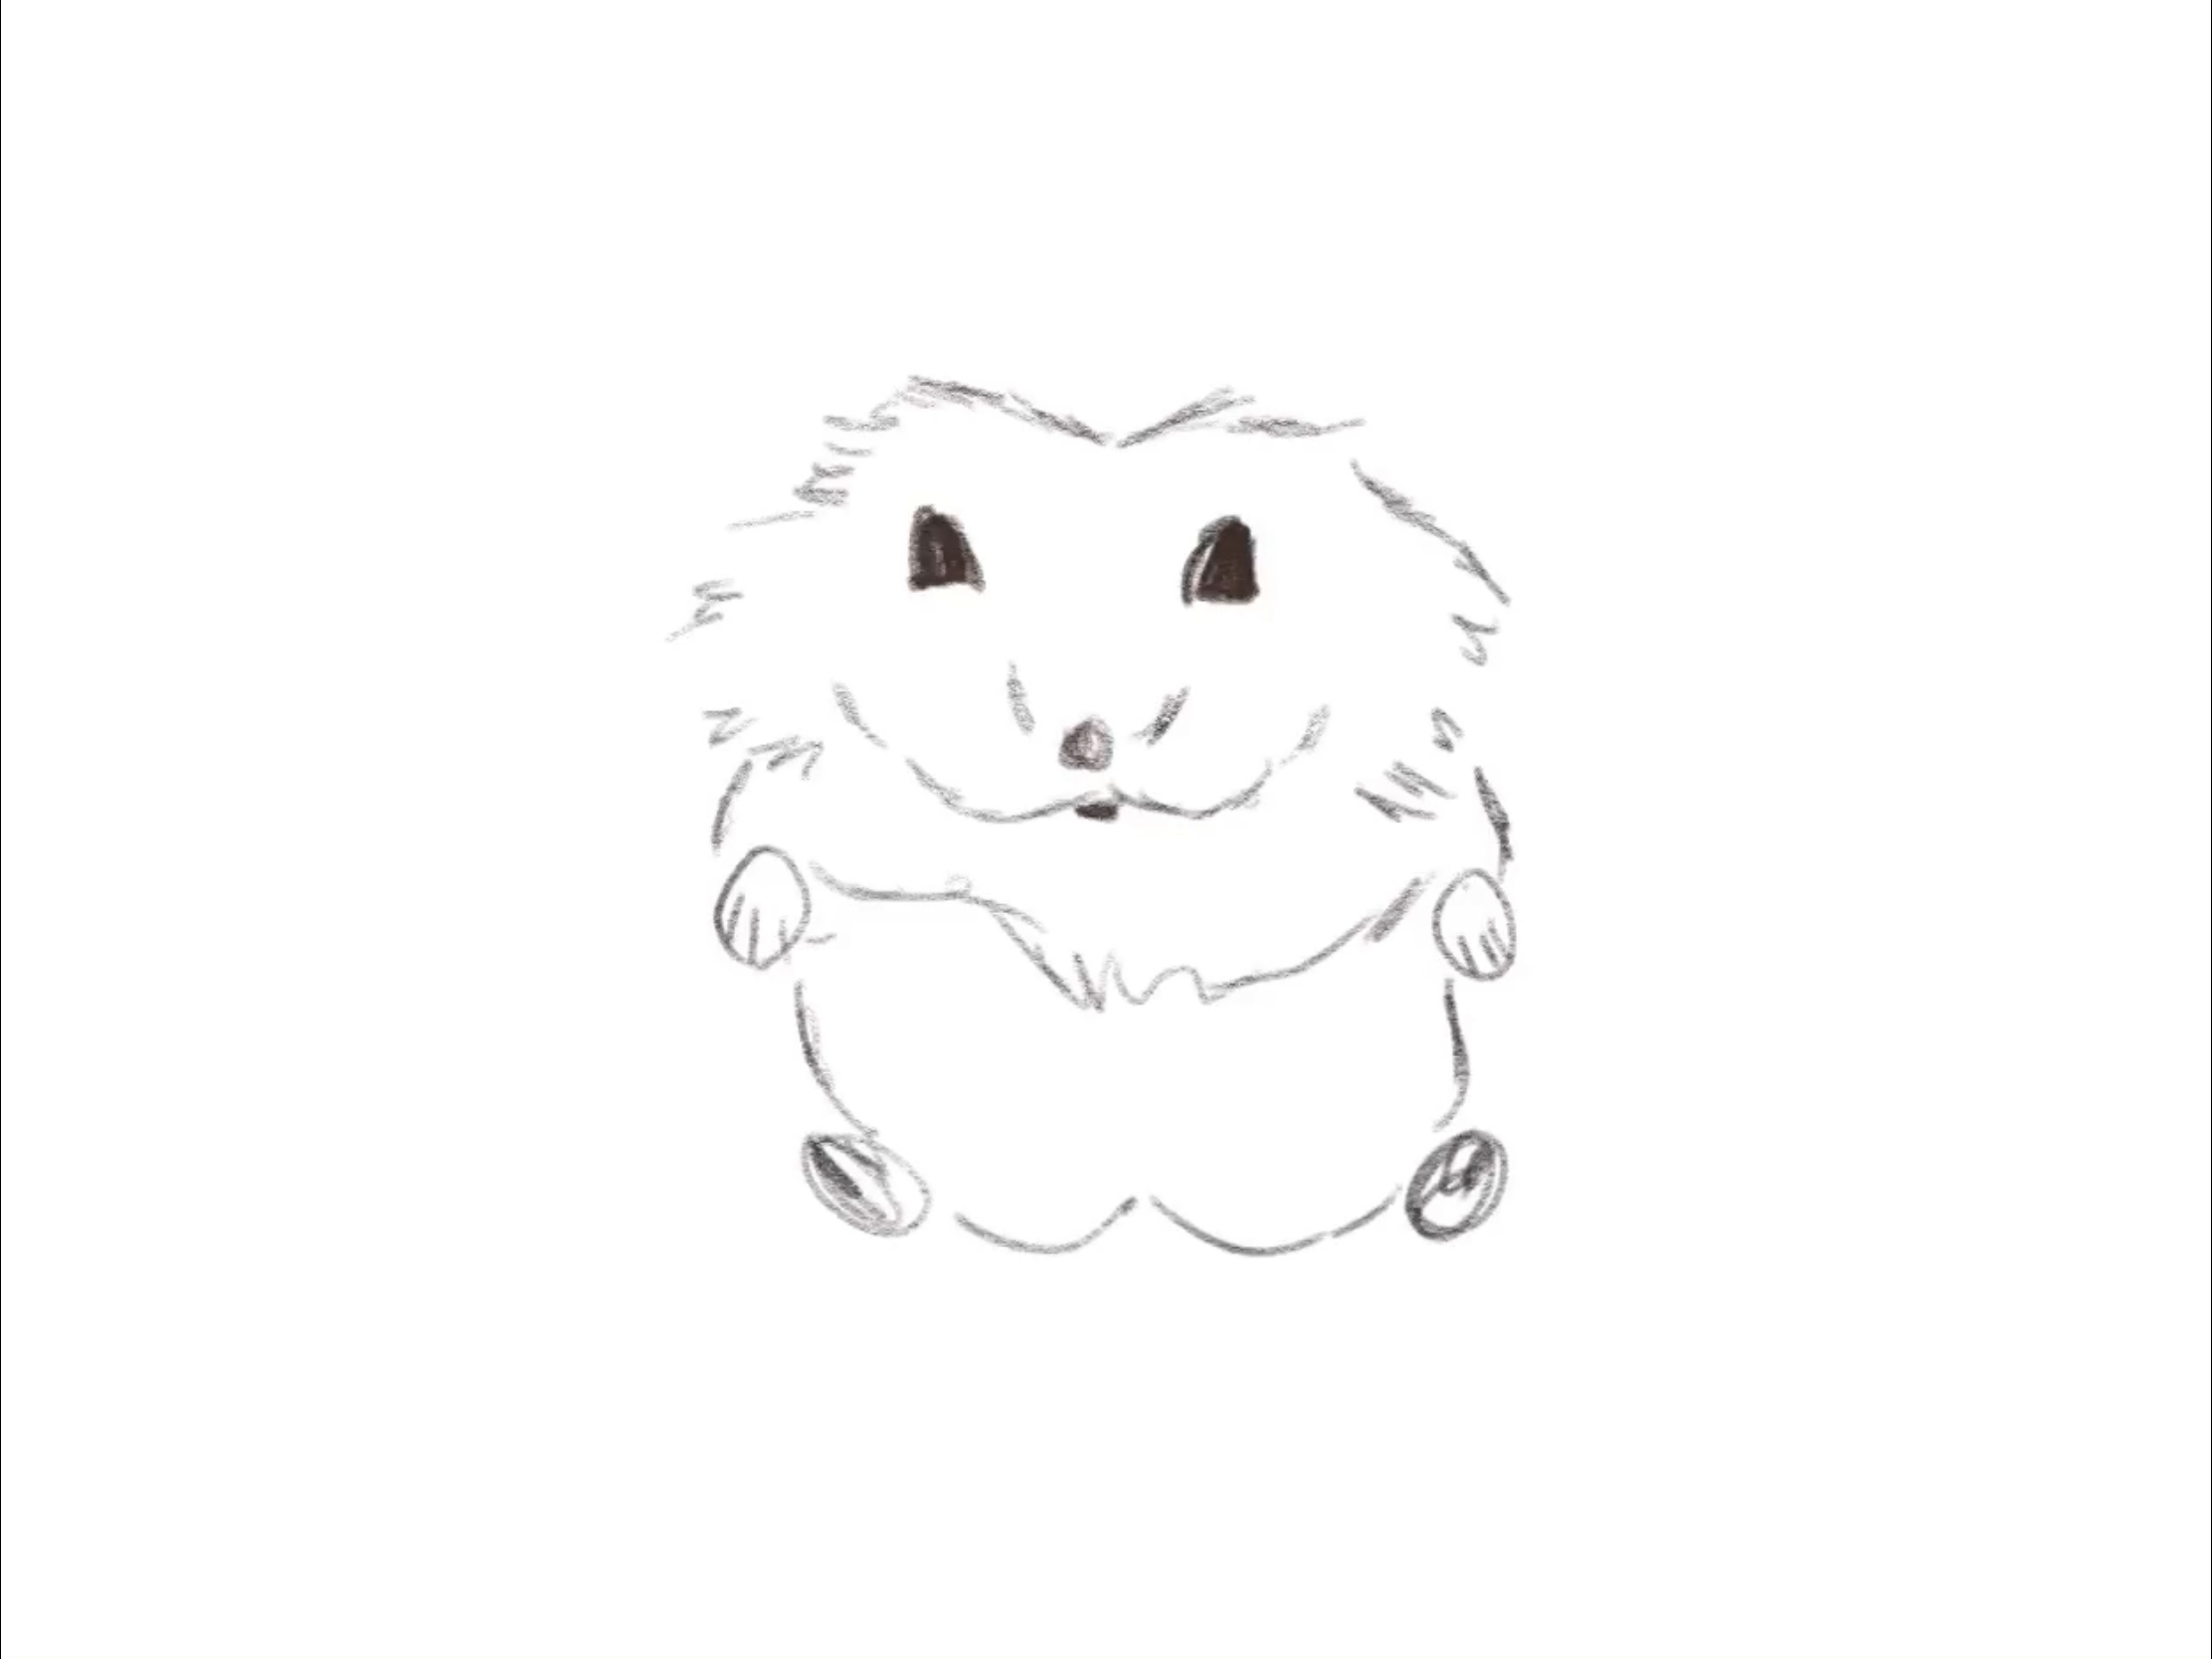
Think you can’t draw? Fret not! Here is a step-by-step tutorial on how to draw your little furry one and unleash the inner artist in you! Today, we will be teaching you how to do a realistic sketch of a roborovski hamster.
1. Draw 2 shapes like semi-circles for the eyes of the roborovski.

2. Draw a circle for the nose, two lines on each side of the nose, and a line shaped like a “W” below the nose for the snout of the hamster.

3. Mark out the head. Following the direction of the hamster’s fur, draw multiple lines that look like the fur strands of the hamster. Do not draw a circle for sketches, instead follow the general M-like shape for the top of the hamster’s head and round it out near the bottom of the head for the cheeks of the hamster.

4. Draw 2 ovals for the front paws. Then, draw 3 lines near the bottom of the oval for the toes of the hamster.

5. Mark out the front legs of the hamster and the top half of the hamster as shown below. Like in Step 3, use multiple short lines to illustrate the fluffy fur of the hamster.

6. Like in Step 4, draw 2 ovals for the hind paws of the hamster some distance below the front paws. Then, draw 3 lines near the top of the oval for the toes of the hamster. Draw 2 curves for the sides of the hamster, connecting the front and hind paws of the hamster. Then, draw a line like a “W” for the bottom of the hamster, connecting the hind paws.
7. Draw the ears. The ears consist of half an oval and a line on the inside of each ear.

8. Add the whiskers. Draw three thick lines on each side. You can include as many thin lines as you want

9. Feel free to make any necessary changes! Darken the eyes and add some fur around the head and snout.

10. Add two white dots on the inner side of the eyes. You can use a white gel pen or a white paint pen.

11. Lastly, colour it in! Use singular strokes to draw the fur. Take note of which area is lighter or darker as well.

Note that the size of each feature varies from hamster to hamster and that this is just a general tutorial. Feel free to explore with the hamster’s expressions and fur textures! Have fun!